Camisole Tutorial
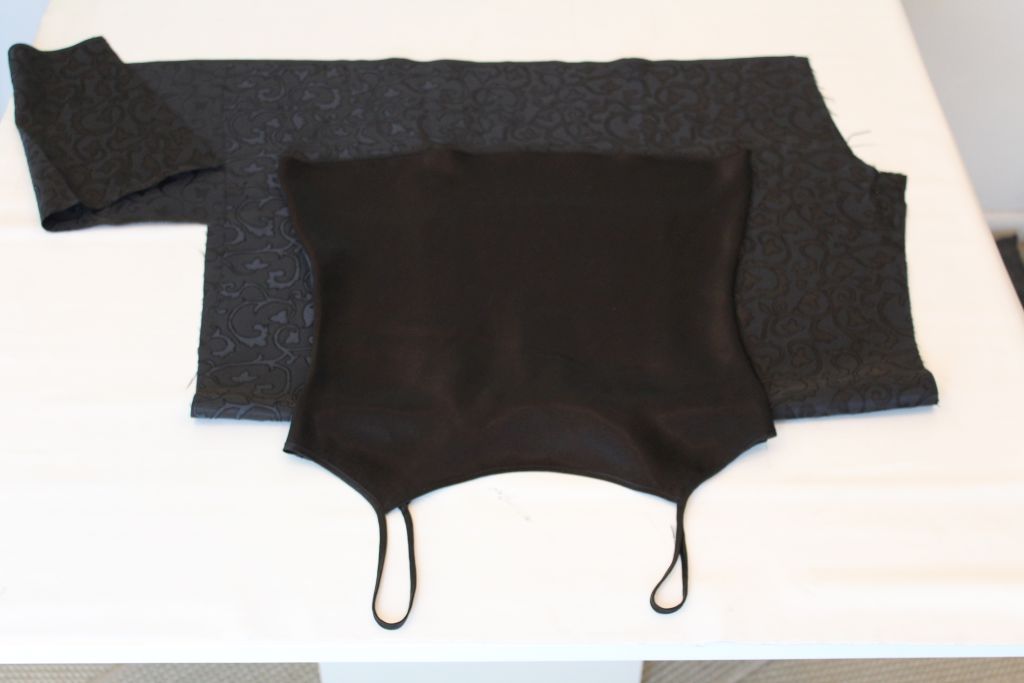
This is a really easy camisole tutorial. It can be made from a light cotton or for a more dramatic look like this one, an embossed tafetta. I’m a closet goth girl hence all the black. For a bang on trend look, make it in a stripe or check fabric. Don’t you love how making your own clothes allows for so much creativity? If you like the lace choker you can find the tutorial for that – here.
You need: –
- fabric
- matching colour thread
- bias binding tape in a matching colour – or make your own
- paper
- pencil
- paper scissors
- pins
- sewing scissors
- sewing machine
- a camisole top
You do: –
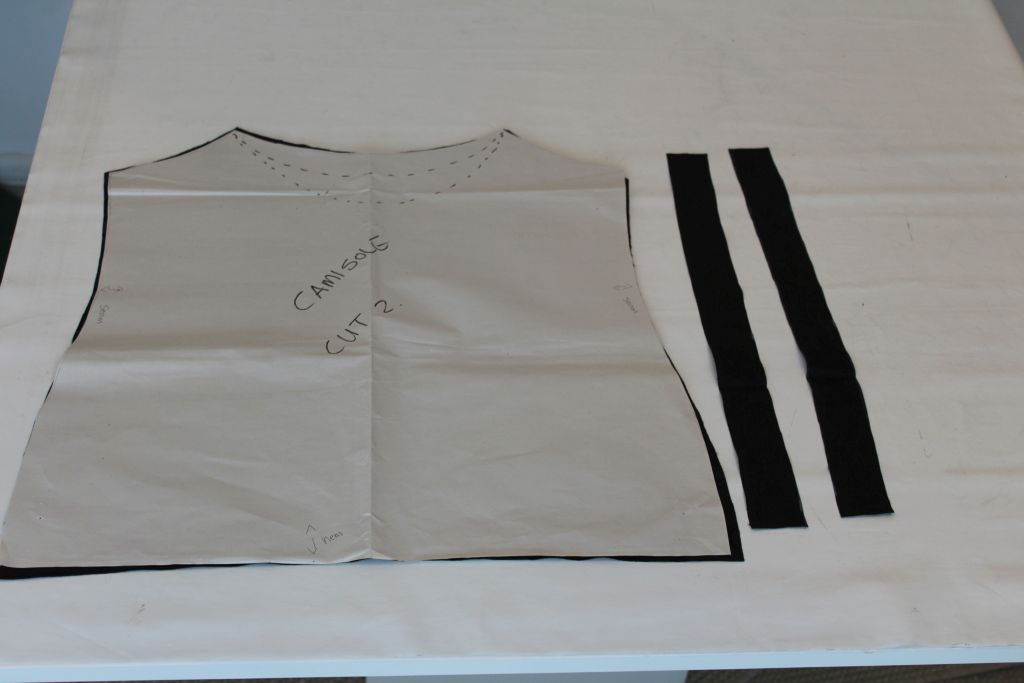
First you need to make a pattern. Take a camisole you like that fits and fold it in half down the middle. Fold your paper in half. Line up the camisole top and the paper so the folds are on top of each other. Pin together. Trace around the edges of your top onto the paper with your pencil. Make sure to draw a second line around adding 1.5 centimetres around the sides for your seams. Add more for the lower hem – about 3 centimetres. You will adjust the back and front necklines later.
A camisole top should be cut on the bias of your fabric. This gives it a bit of stretch so it’s easy to put on and take off. Problem with this thick heavy tafetta I used – it had a pattern which would have looked all wrong sideways. And it had no stretch even on the bias. That’s what happens when you use left-over fabric.
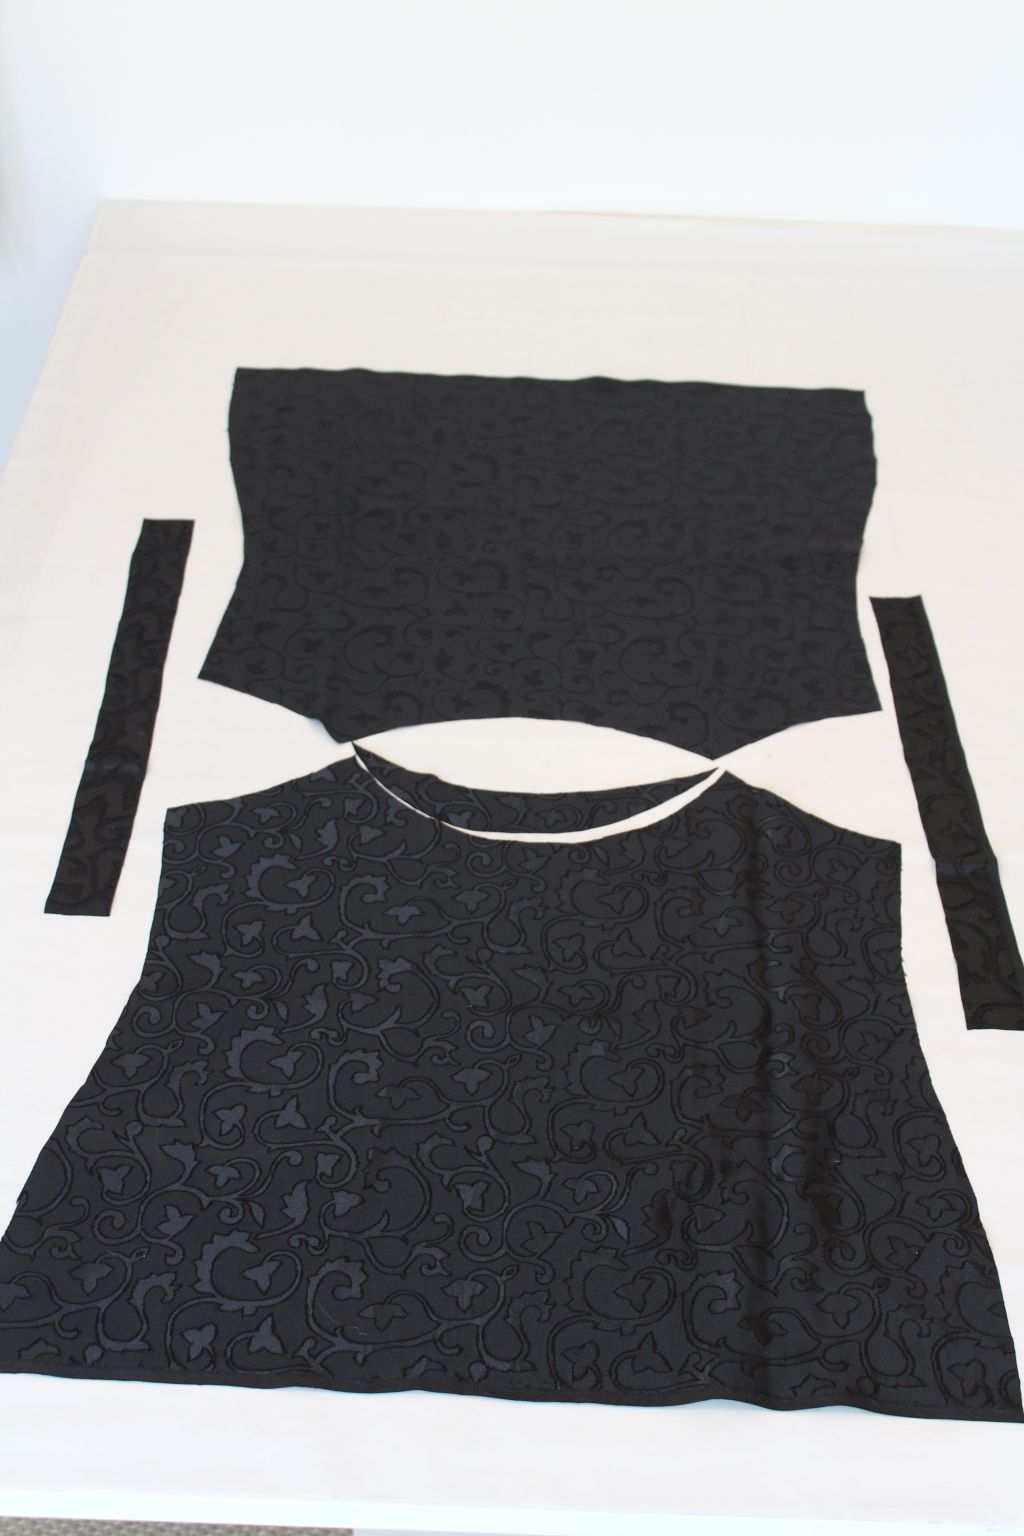
So I cut it on the straight grain of the fabric. If I added extra width to compensate for the lack of stretch, the camisole would have been too loose. It does fit, but is a bit of a mission to get on. Cut two pieces, a front and a back.
You will also need some straps. Use either matching colour bias binding. Or make your own bias binding as I did. My straps were 2 pieces x 4 centimetres wide x 60 centimetres long. Didn’t use all of it, but better to have more than less.
Now is the time to shape the neckline. I cut mine 2 centimetres lower at the back. See picture above. You can make your back completely straight. Or a deeper curve.
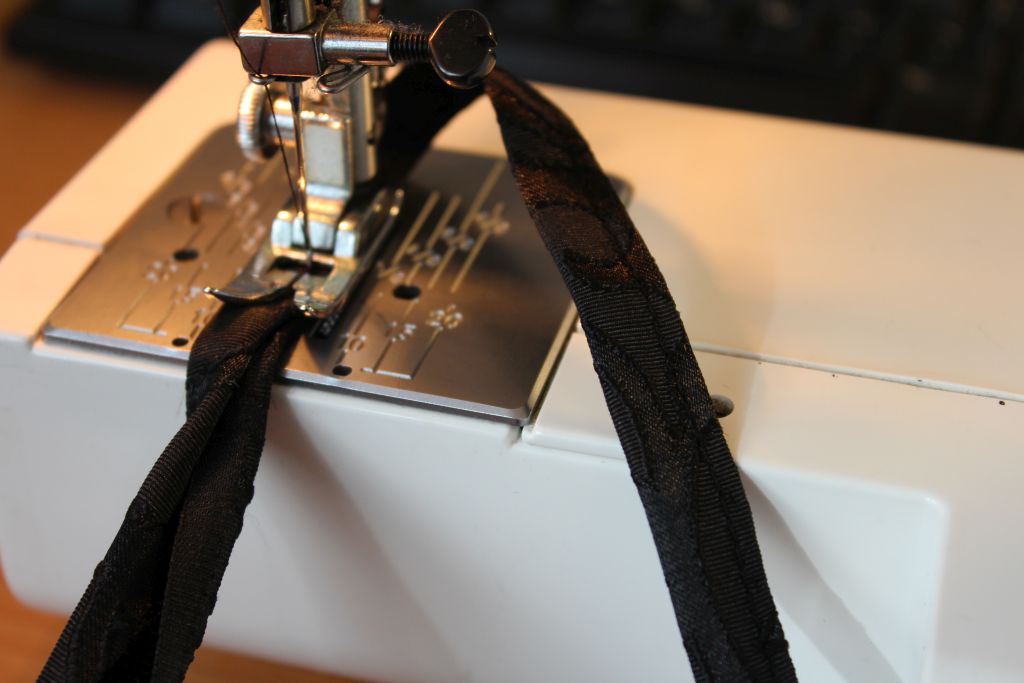
Fold and sew straps. Press flat with an iron.
Next I sewed the sides together. And folded over along the top to make a hem.
All those seams with an iron to open them out and flatten the. The straps were pinned in place and I fitted the top to check they were all good.. Not too long or too short. Then I sewed the straps in place. Final job was to pin the hem and fit the camisole one last time to check the hem was in the right place before sewing it and pressing it flat with an iron.
That’s your camisole tutorial for this week.
Have a great green week.
Greenie.


Hi Karen
I love your camisole pattern and the others. Thanks for sharing.