
DIY Muslin Curtains Two Ways
DIY Muslin Curtains Two Ways is showing how I made two sets of muslin curtains. These muslin curtains are made with a fold over.
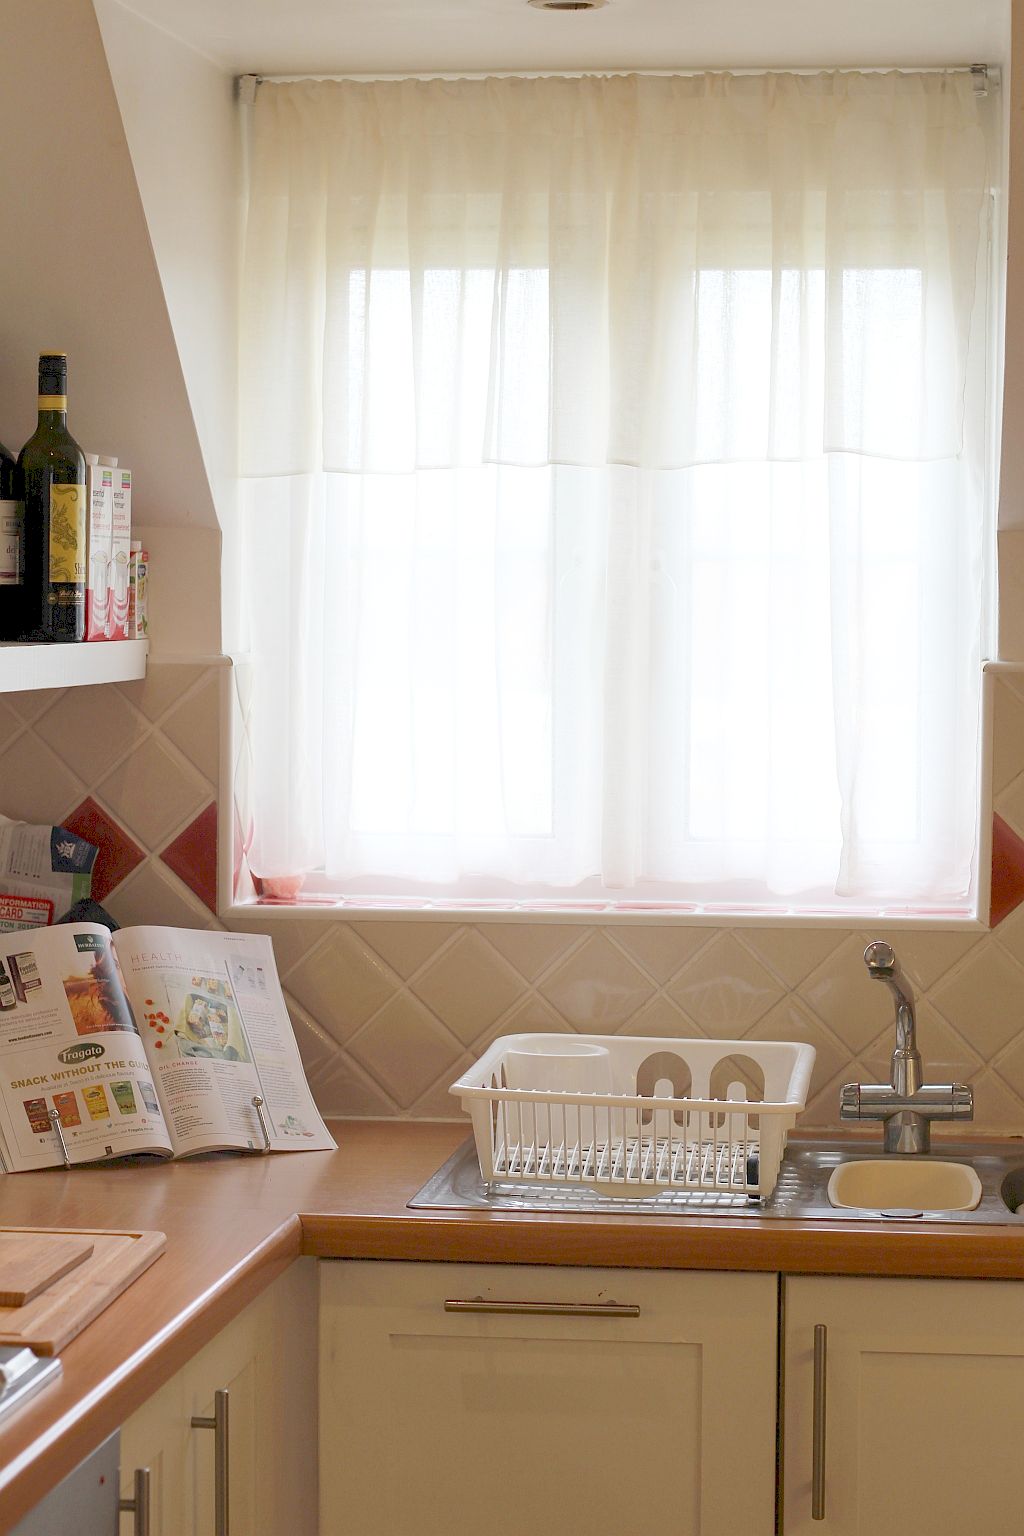
Muslin Curtains with a fold over
I had to come up with curtains rather quickly for a London apartment which lacked light – hence this pair of posts called – DIY Muslin Curtains Two Ways. The only way I could enhance what little light came in was to use the lightest, sheerest fabric to make curtains. These ones went in the kitchen and I made them making a fold-over.
Two things I want to mention are: –
- Muslin + large items aren’t an easy combo to sew, make sure you have space or they will fall and compromise the shape
- Use the selvedge for the hems as they are much neater and more attractive than a zig zag seam
Into the folded part went an expanding/telesopic/extendable shower curtain rod which didn’t require drilling or tampering with the window frame. Here’s how I made them.
You need: –
- muslin 2 x width of window by 1. 5 times height of window
- matching colour thread
- sewing machine
- tape measure
You do: –

Lay out the muslin
Lay the muslin out on a flat surface. Cut to correct size for your window.

Sew edges that have been cut
Sew a zig zag stitch around the edge of your curtain that has been cut. Try not to cut the selvedge as the selvedge makes a lovely clean edge for your curtain.

Cut away long threads
Next trim any long – or short – threads that stick out so the edges are nice and neat. I’ve washed muslin curtains (on a gentle wash admittedly) and if you get this right, they do not fray.

Fold over and pin
Now measure from the windowsill to the top of your curtain rod. Fold over the curtain at exactly that spot. And pin in place. Make a seam just wide enough from the fold so your curtain rod can fit into the curtain.
Slide rod into the space you created and hang up your new curtains.
Part two of the – Muslin Curtains Two Ways – will be posted next week. And I made similar curtains a while back using tape at the top. See that tutorial – DIY Sheer Curtains.
Have a great green week.
Greenie.