
FREE Backpack Sewing Pattern

FREE Backpack Sewing Pattern
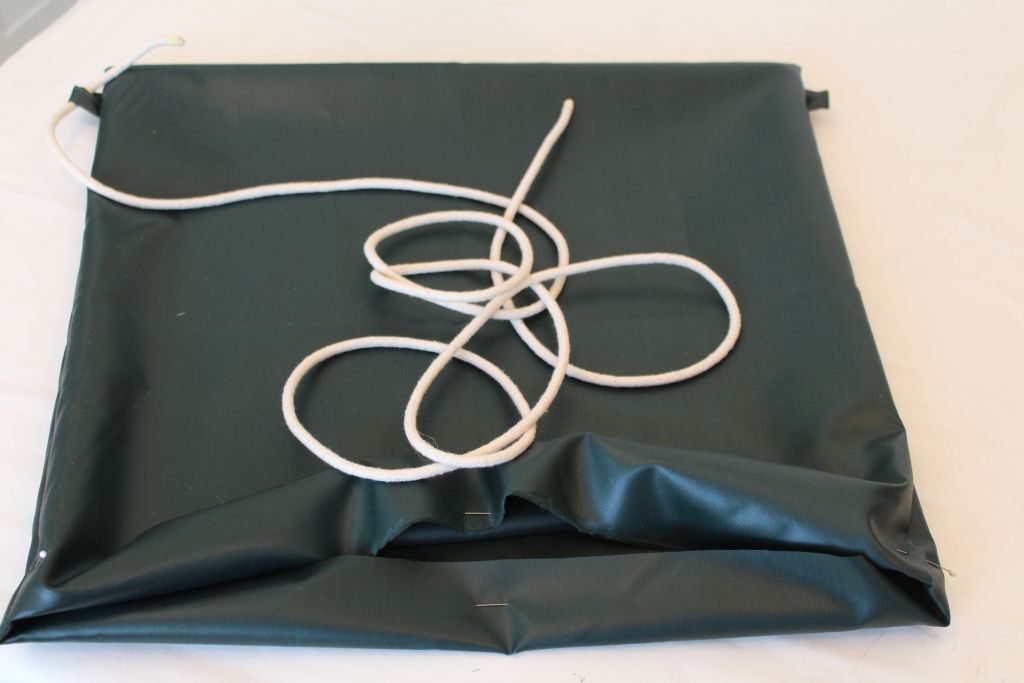
There are some trends I warm to instantly, anything in any shade of green will do, hence this FREE backpack sewing pattern. Am on the move again and backpacks are the business to make travel easier. I’ve made a similar backpack before which you will find – on this link. It was made from old curtains. This one has similar dimensions and structure, but I attached the rope slightly differently. Don’t you love this glossy green waterproof fabric?
BTW, the green shift dress is coming up in a future post. I’ve made a heap of comfy shift dresses in myriad fabrics. And you can make this backpack in anything from Bull denim to your own funky paint splattered canvas. The great thing about DIY fashion is – you own your look. You make what YOU love.
You need: –
- 2 x pieces of fabric 50 centimetres long and 45 centimetres wide
- matching colour thread
- sewing scissors
- pins
- sewing machine
- rope
- off-cuts to make loops for rope
- unpicker
- Stop Fray or product that prevents rope unravelling
You do: –
The slightly longer ends are the sides and the slightly shorter ends are the top and bottom of this backpack. First make the loops. I suggest you make them folded in like bias binding. See example below.

Sew tape flat
Once you’ve made your loops, place your two fabric pieces right sides facing inwards.

Position loops
Position the loops at the bottom ends. Check the picture to make sure you get it right or they will be on the wrong side. Pin and sew sides and bottom of your backpack.
Fold over top of backpack
Turn backpack right side out. Now fold over the top with a deep fold. Around 5 centimetres. You’re going to do some top stitching to keep this all in place.
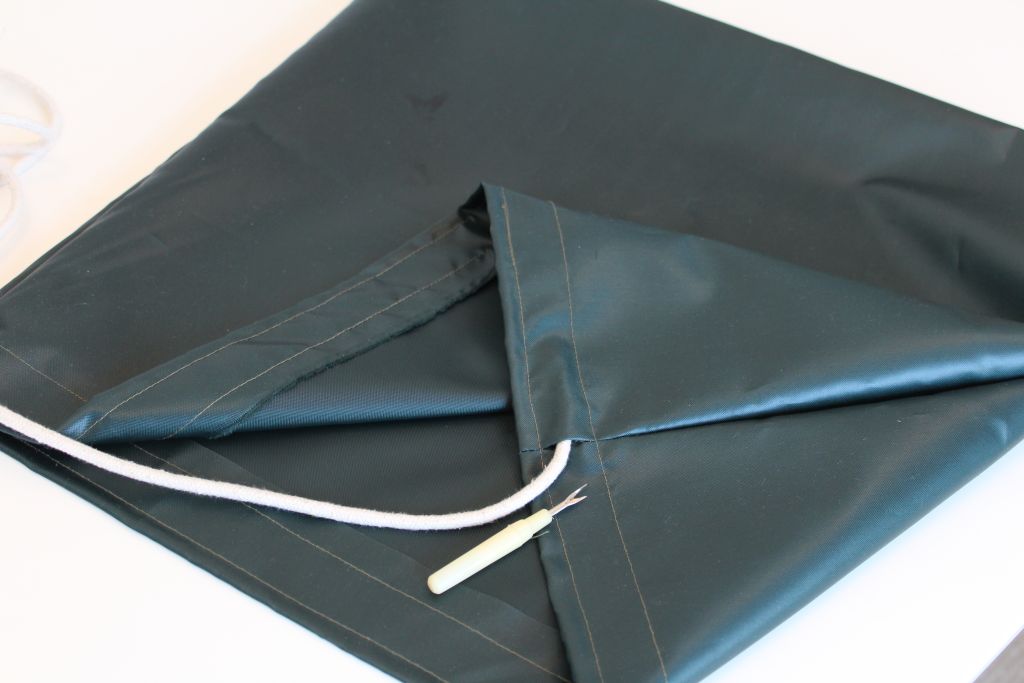
Top stitching
I did two rows of top stitching. You can do as many as you like. As long as your rope can fit somewhere in between your stitches.
Now unpick the stitches between your top stitching so you can insert your rope. It’s going to go once around the top of your backpack and then tie at at the loops. You want this backpack to close when you’re wearing it so try it on and fiddle with it. Once you’re happy, tie the rope into the loops.
Weave rope though pack and loops
I used a product called Stop Fray which is similar to wood glue to secure the knot at the loops AND I put it on the ends of the rope to stop it fraying. I guess you could use nail polish or ordinary glue.
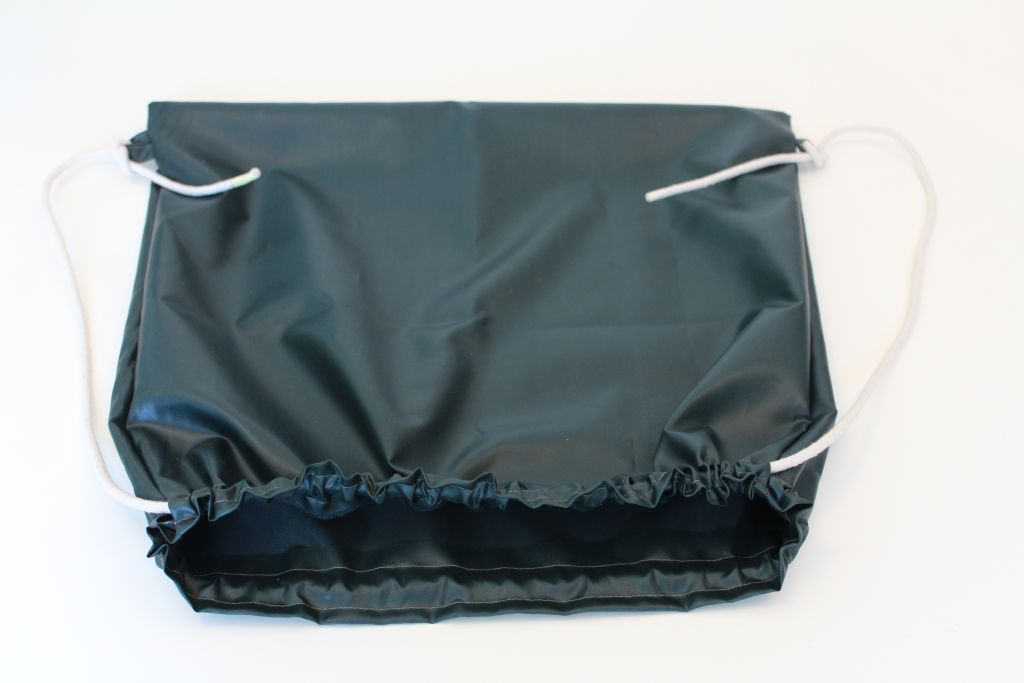
There you have your very own customized backpack.
Have a great green week.
Greenie.