
DIY Drawstring Laundry Bag

DIY Drawstring Laundry Bag
These DIY drawstring laundry bags were originally made for our boat. Super handy to divide up washing according to colour and schelp them to the nearest laundry. But they also proved very useful in our accomodation in London. DIY drawstring laundry bags are quick and easy to make. And they take up zero floor space. Hang them on a door or on your wall. Here’s how to make one.
You need: –
- fabric
- matching colour thread
- sewing scissors
- sewing machine
- cord or ribbon
You do: –
Decide how big you want your bag to be. I started with a square shape to guage size. You will need two of those squares next to each other. Bascially a rectangular shape. My pattern piece was 50 centimetres x 80 centimetres.

Sew a flat seam all around
Finish the edges by sewing a flat seam all around. Fold over top to create a slot for the cord. My fold was 4 centimetres. Sew the slot in place.

Fold over and sew sides
Now fold the right sides inward and pin the two sides together. Sew around the bottom and side taking care to stop before you get to the slot. Make a backward and forward stitch at the end to secure.

Stop sewing before the slot
Your cord needs to be long enough to fit through the slot and add about an extra 30 – 40 centimetres. Feed it throught your slot using either a safety pin or a key like in the picture. I used a long strip of left-over fabric to make a cord.

Feed cord through the slot
With an end of fabric that hadn’t been used, I made a peg bag as well. It fits neatly in our kitchen drawer.
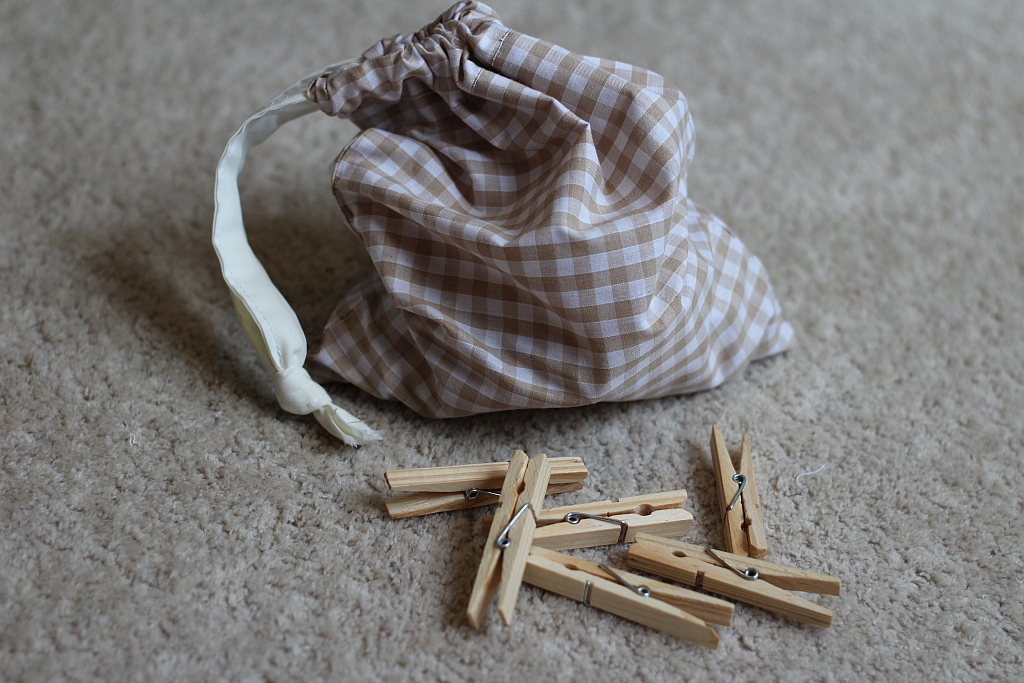
DIY Peg Bag
And there you have a DIY drawstring laundry bag. Plus a matching DIY Peg Bag for extra measure.
Have a fabulous week.
Greenie.