DIY Oven Gloves
Who makes DIY oven gloves? Not me. Not before this. They’re so easy to buy and a bit of a fuss to make. My other half and I love, love, love making food and recently started a Pop Up Dining Experience at our house. Check that out – here.
Fair to say we’re going through oven gloves a lot quicker. I wanted a new pair and the prints and patterns on sale in our local shops were absolutley ghastly. I know this for sure, with zero design experience, I could have definitley done a whole lot better. Could not bring myself to buy anything. There was no way around it, but to make a pair of DIY oven gloves myself.
Have I mentioned I’m impatient? I wasn’t keen on the whole piped edging thing and so found a simple way to skip that step. Here’s how I made these DIY Oven Gloves.
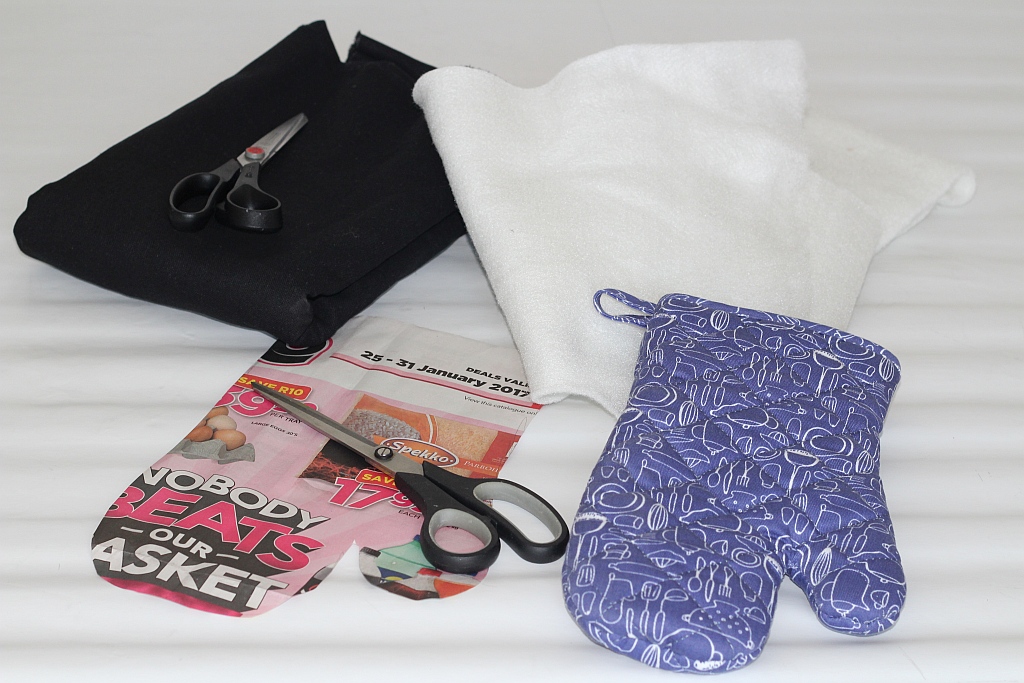
You need: –
- a pair of oven gloves to cut a pattern
- paper scissors and paper to make a pattern
- heat-proof material
- cotton or a naturally heat-proof fabric – NOT synthetics
- matching colour thread
- sewing scissors
- sewing machine
- pins
You do: –
Make a pattern from an existing pair of oven gloves. Remember to allow for a seam all around the edge. And . . . remember the cloth part of the glove needs to be slightly bigger than the heat-proof material.
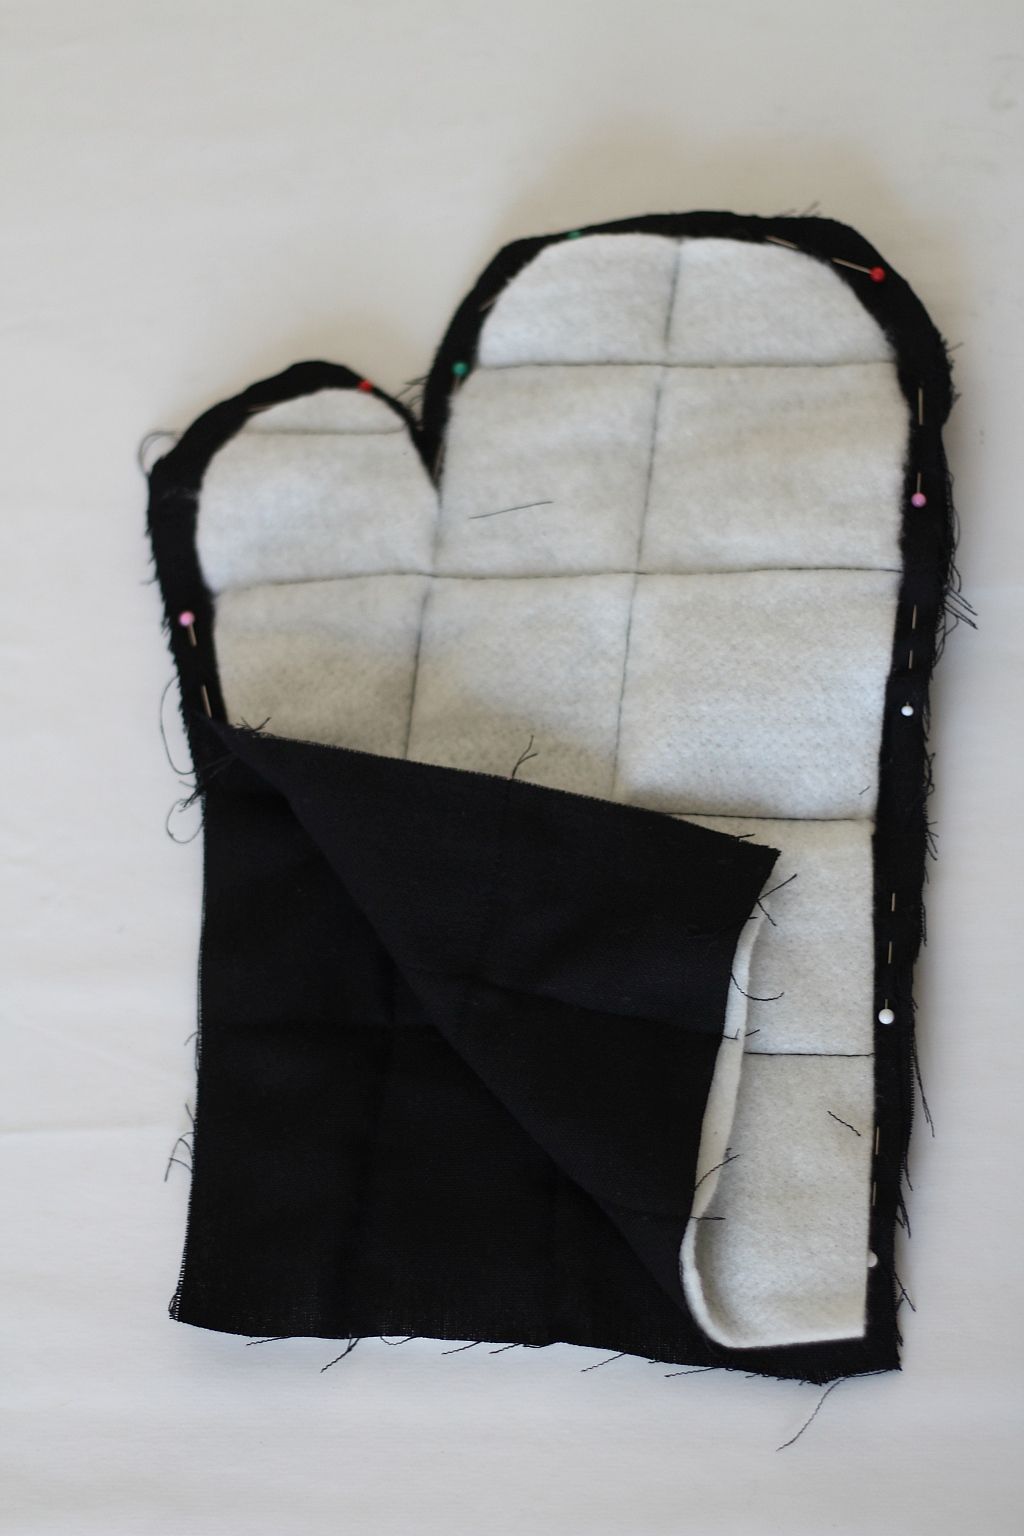
You need to attach the heat-proof material to the outer fabric. You should idealy quilt it. In other words, sew fine rows horizontally and vertically. Almost like a crossword puzzle. I’ve already said I’m impatient. No way was I going to sew 60 rows when I can get away with 6 rows. Hence the chunky quilting above. I think maybe sewing just rows and not squares but narrower rows could also look nice.
Once you’ve secured the heat-proof material with macro or micro stitching, pin and sew around the edges of your DIY oven glove.
Next I took a piece of fabric about 8 – 10 centimetres wide and the width of the circumference of the DIY oven glove. Should be no more than 30 centimetres depending on your pattern. And sewed that to the bottom of the glove. See photo above.
Lastly I folded the cuff in and sewed it in place.
And just like that I had a new pair of oven gloves made in around an hour.
Have a fabulous green week.
Greenie.


Trackbacks/Pingbacks