
Luggage Tag
Luggage Tag
The last time we went to visit family up north the chauffeur who collected us commented on our luggage tags. He said he could see where we lived. I thought that was the point. Then he pointed out that anyone who walked past our bags could have read our luggage tags and known we were away from home. Which is a security risk. We had never thought of that.
So I made this luggage tag. I used a lovely piece of ribbon which came around a gifted bottle of wine from a friend. And some pleather. You can see how I made mobile phone covers using the same pleather – in this link.
You need: –
- pleather
- Stanley knife
- ruler
- wooden board
- sewing machine
- sewing thread
- punch
- ribbon
You do: –
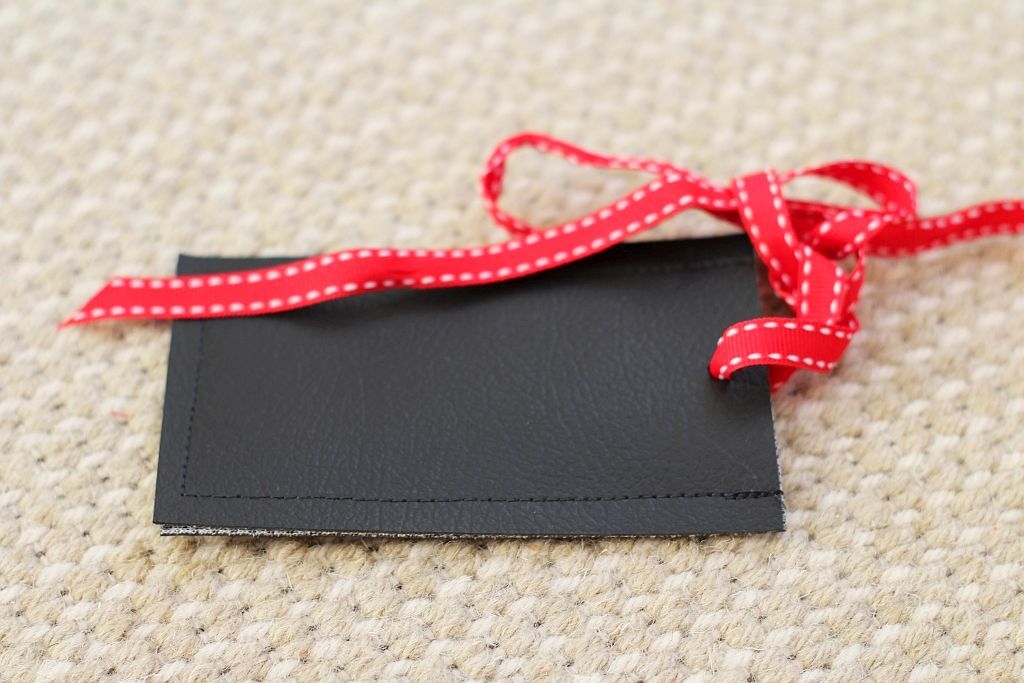
This luggage tap was made to accommodate a business card inside the luggage tag. It ties to your suitcase handle and you have to untie the ribbon to open and see the details of the traveler. The picture below will give you a sense of how much I allowed to sew around the end and sides.

Cut luggage tag from pleather
You need to cut two equal size pieces for your luggage tag. It’s impossible to do with scissors. You need a Stanley knife and a ruler. You also want to cut on a wooden board.
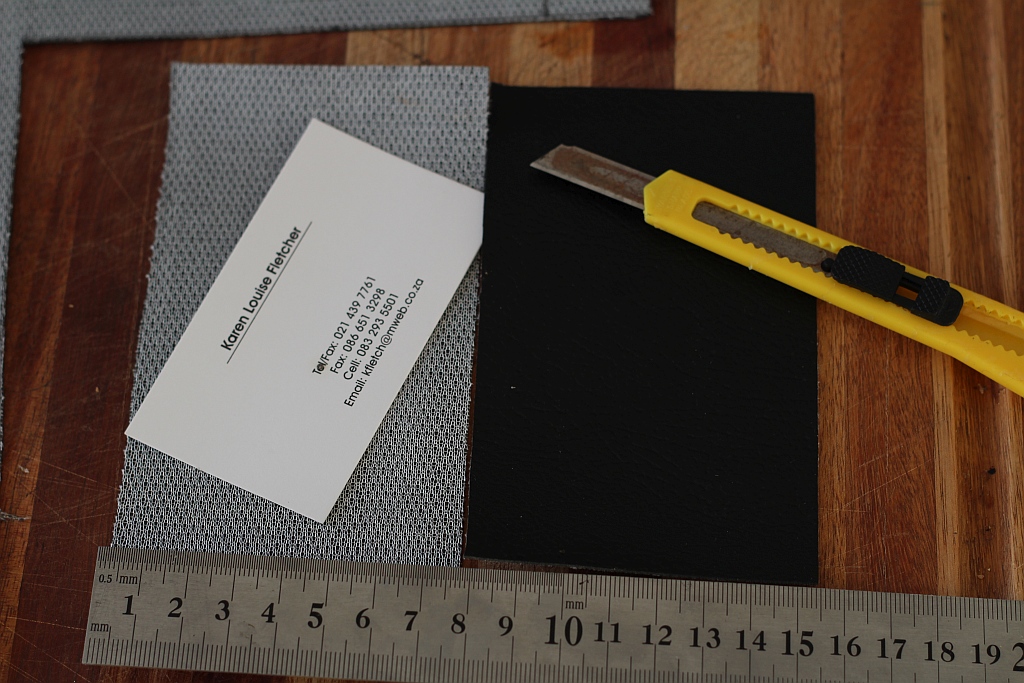
Cut two equal size pieces
Sew the sides and one end of your luggage tag. It’s not so easy with a sewing machine as the feed dog sticks and your two pieces get pulled apart. You could sew with a piece of tissue paper on top. Or tough it out like I did and hold them firmly together and sew slowly.
One you’ve sewn them together, slip in your business card and punch a hole in the middle of both sides of the open end. Slide your ribbon through and just like that you are done.

Punch a hole through open end
These luggage would make lovely personalized gifts. Or the mobile phone covers in the link above. I also made a glasses pouch from this pleather. That’s coming up in a future post
Have a fabulous, green week. More DIY inspiration coming soon
Greenie.