
Tapestry Kimono Jacket

Tapestry Kimono Jacket
I’ve made a tapestry kimono jacket before. You can see the first one and get the FREE sewing pattern – on this link. If you like this tapestry kimono jacket, it’s exactly the same, but I made it a tiny bit bigger and longer. The first version was a slightly shrunken jacket.
Cut the pattern pieces bigger
I added 15 centimetres length to the back, front and sleeve pattern pieces. I added 2.5 centimetres width on each side to the back and front pieces. And I added 6 centimetres on either side of the sleeves to make them wider.
You need: –
- firm fabric – I used real tapestry fabric
- contrast colour fabric for the collar – mine was 10 centimetres wide x 150 centimetres long
- matching colour thread
- sewing scissors
- pins
- sewing machine
- paper, ruler, pen and paper scissors to make the pattern – I used newspaper, but the ink can cause marks
You do: –
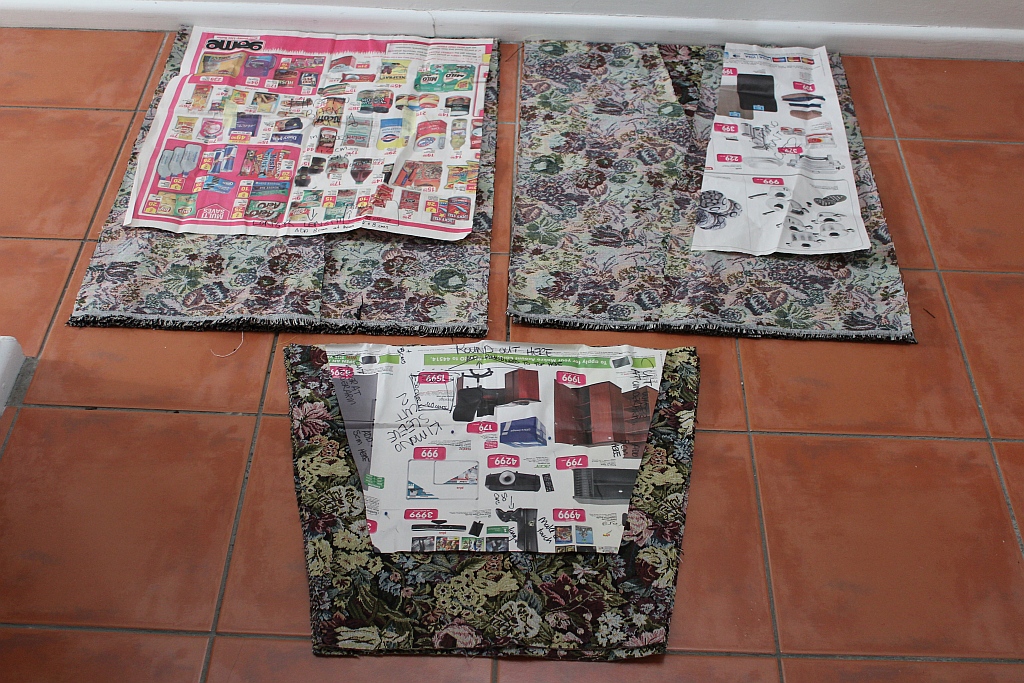
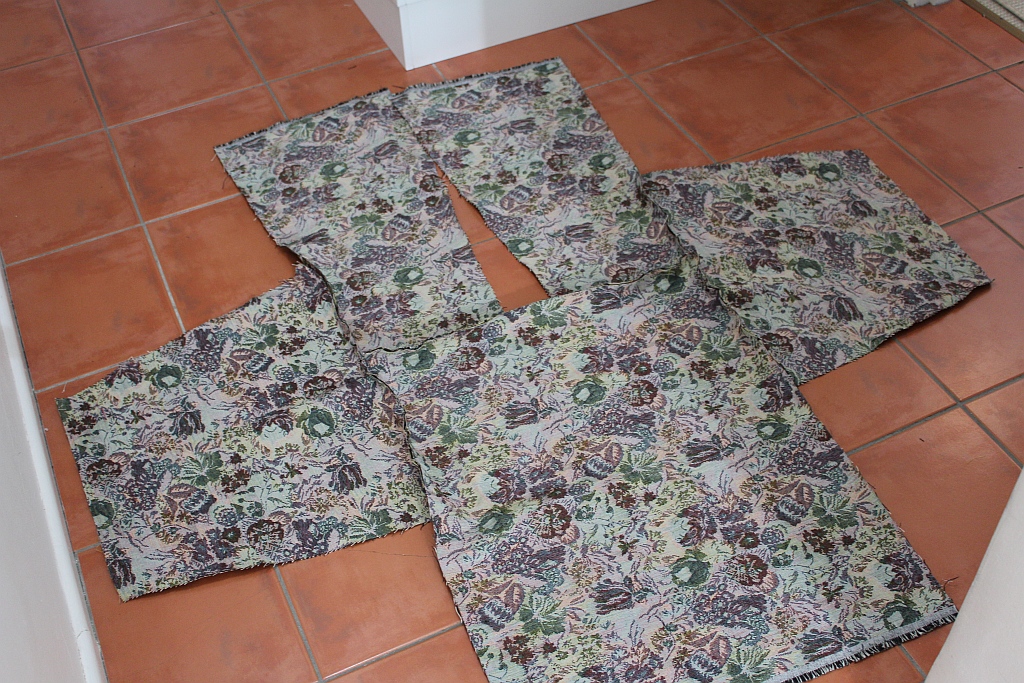
Cut your pattern pieces. See photo above.
Sew shoulders together and then sew sleeves to shoulders.
Sew shoulders and sleeves
Fit your tapestry kimono jacket and check you are happy with the fit. Adjust if needed. Then sew sides together. Press your jacket at this point.
Pin and sew the collar along the front and around the neckline. Press and then top stitch the collar in place. Make sure you do this so you can sew the top stitching on the front or right side of the jacket.

Pin and sew collar
Next fold up and pin a hem. Fit your tapestry kimono jacket to make sure you’re happy with the hem. And sew.

Make a hem
Hem the sleeves and you’re done. A super easy on trend tapestry kimono jacket just like that. You can obviously play with different patterns and types of fabric. The collar doesn’t have to be a contrasting colour. The only important this is your fabric must be fairly firm or this jacket won’t hang right.
Have a great green week.
Greenie.