Laundry Bag
We have a small house so we have to use vertical space over horizontal space. I like to separate my laundry and came up with this laundry bag, which I made using an old sheet.
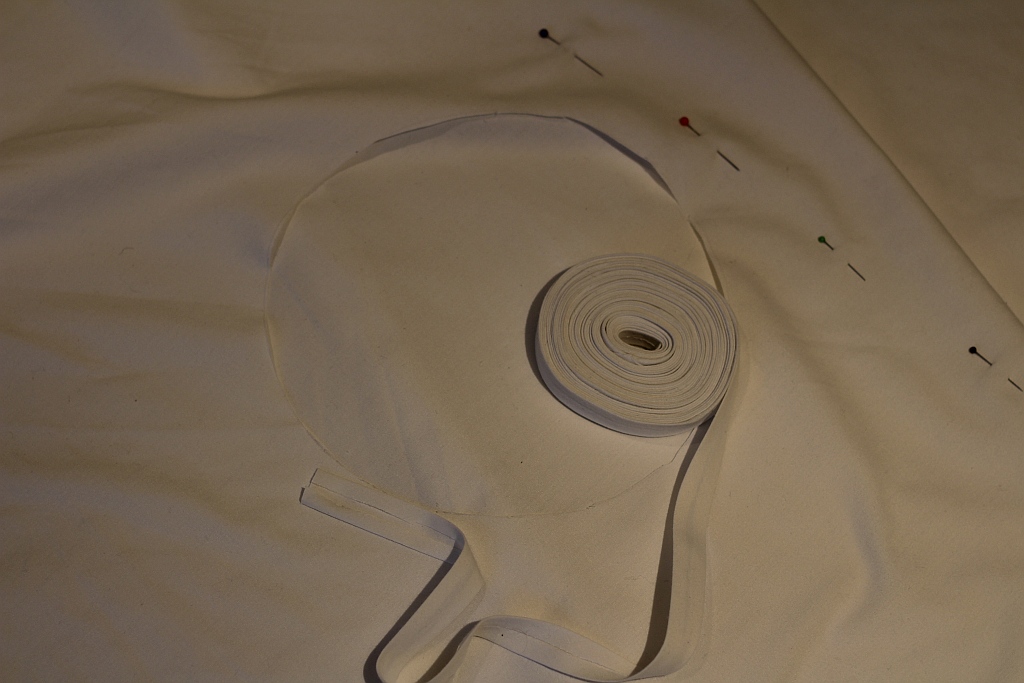
But first I had to make bias tape for the laundry bag pockets. I watched a You Tube tutorial for continuous bias binding tape. Genius!
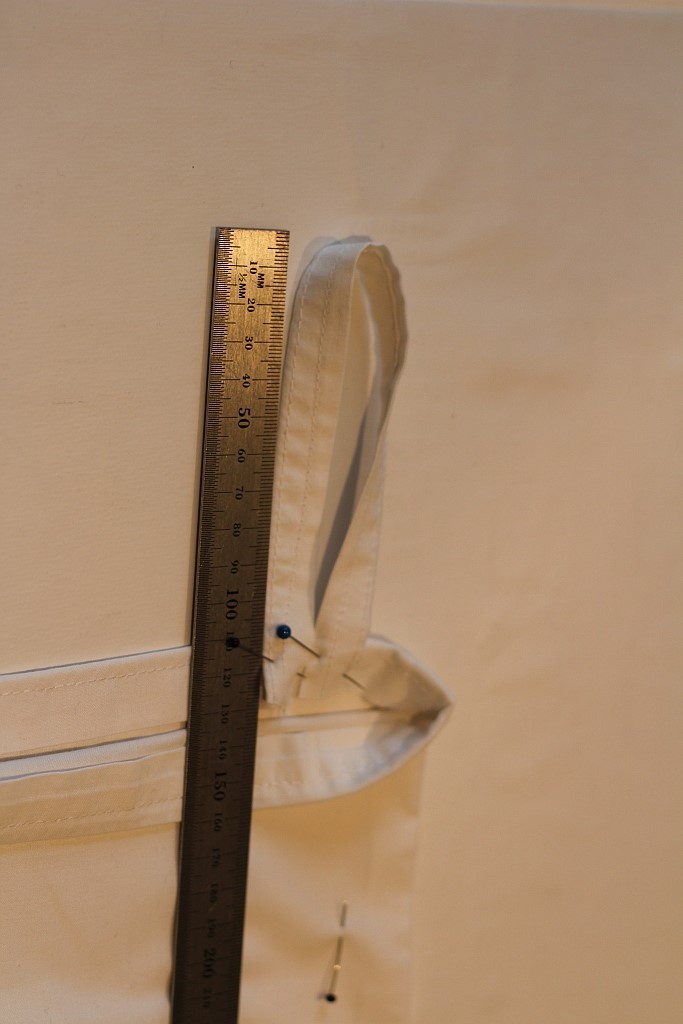
Then I had to make 2 x tabs for the top. You could also buy tape for this. Or sew some bias tape flat. I wanted wider tabs so made my own. The finished tabs are 2 centimetres wide and 26 centimetres long.
You need: –
- 2 x fabric pieces 160 x 65 centimetres
- 2 x tabs for the top
- matching colour thread
- bias binding tape
- pencil
- sewing machine
- sewing scissors
- pasta bowl
You do: –
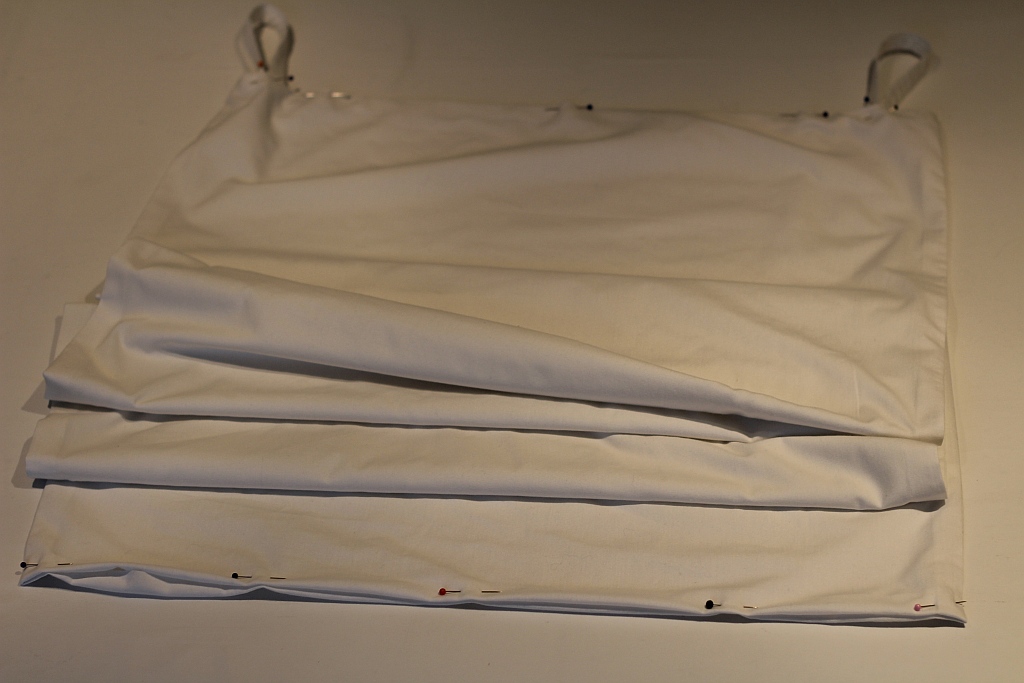
Cut your two pieces of fabric. Sew the sides together. Press your seams flat.
Fold the top edges in and sew the top closed pinning the tabs in place to include them in the stitching. (The hem that you see in the photo above is not necessary. I used an old sheet and the hem was already there.)
Now fold in at the bottom and stitch closed. Top stitch the sides as well.
Measure from the top to the bottom and divide that amount into three pockets. Mark, pin and sew them.
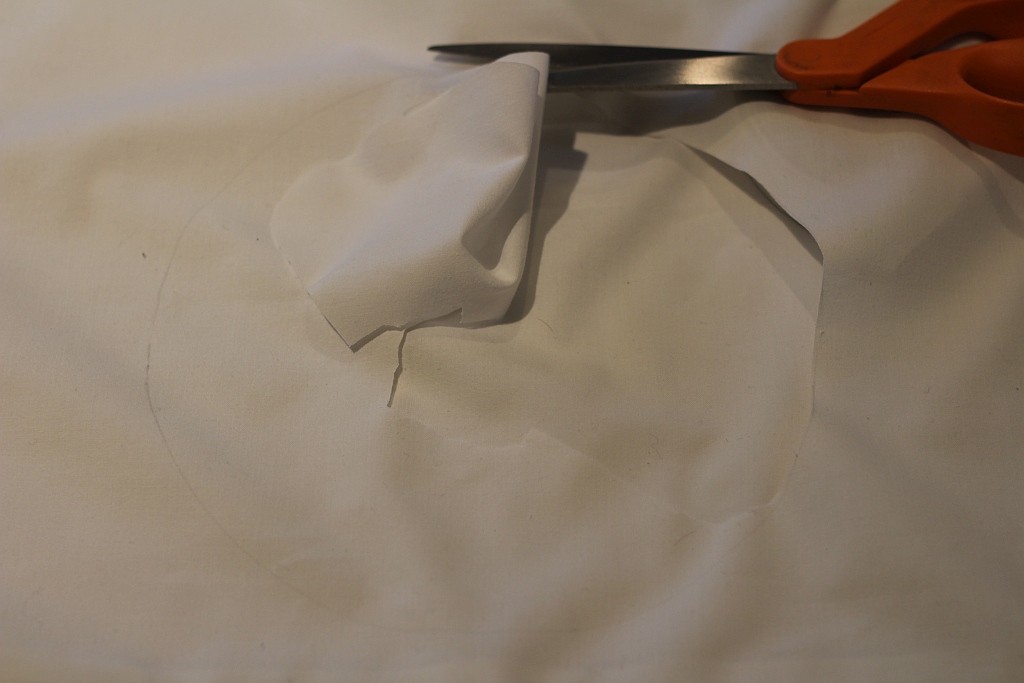
I used a pasta bowl to get perfectly round pockets. You do not want your hole in the middle or your washing will fall out. It must be above the centre. But not too close to the top as you will sew bias binding to the edges.
Cut the front only to make a hole.
Finish the edges of the holes by sewing bias tape around them. Just like that you have a handy laundry bag.
Such a pity the lighting in these photos is so poor. I sewed this at night. But this sheet escaped landfil and took on a whole new life as a laundry bag.
Have a great green week.
Greenie.


