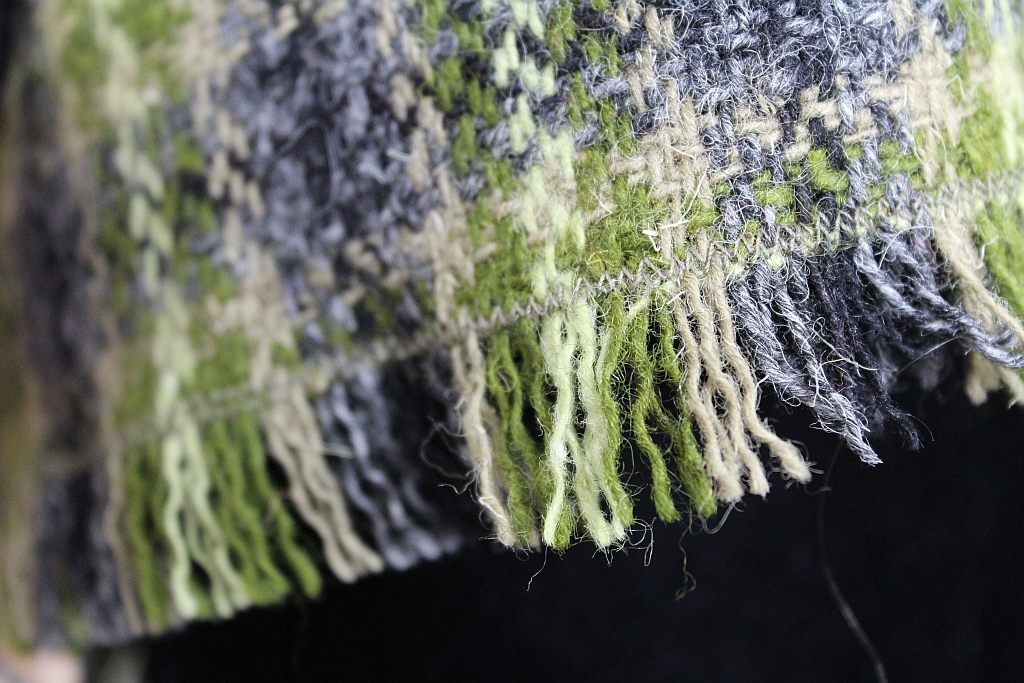
DIY Winter Poncho
I’ve been quiet for the last fortnight. Came home after 4 months away to an almighty backlog of things, as well as income tax return, a renovation, a legal issue . . . Sadly this blog dropped down on my To Do list. 🙁
So the DIY Winter Poncho here could just as easily be a summer poncho. Swap out the heavy wool fabric for something lighter. And make a hem around the edges. Maybe even add fringing to the bottom? You could also make the DIY Winter Poncho longer for a beach cover up or longer length jacket?
I’m often given fabric by people who know I will use it. This piece came from my mother. And I always feel obliged to repay them by actually using the fabric. My mother was staying with me when we made this poncho.
You need: –
- fabric 80 x 140 centimetres
- matching colour thread
- sewing scissors
- sewing machine
- chalk or dried soap
You do: –
Fold your fabric in half and in quarters. Mark with chalk where you will cut the centre front opening. See photo below.
Fit your poncho. You might have snip a teenie bit more so your neck fits nicely. Fit first and then cut. You can’t uncut once you have done it.
Zig-zag all around the side edges.
And zig-zag about a centimetre from the bottom edge to allow you to pull threads and create a frayed edge.
One last step. Fit your poncho and pin the sides. This isn’t meant to be tight. Then sew approximately 25 centimetres from the bottom up
And that’s it. You’re done!
I wear this over a tank top and leggings when I go to yoga so I don’t feel over exposed.
Have a great green week.
Greenie.


