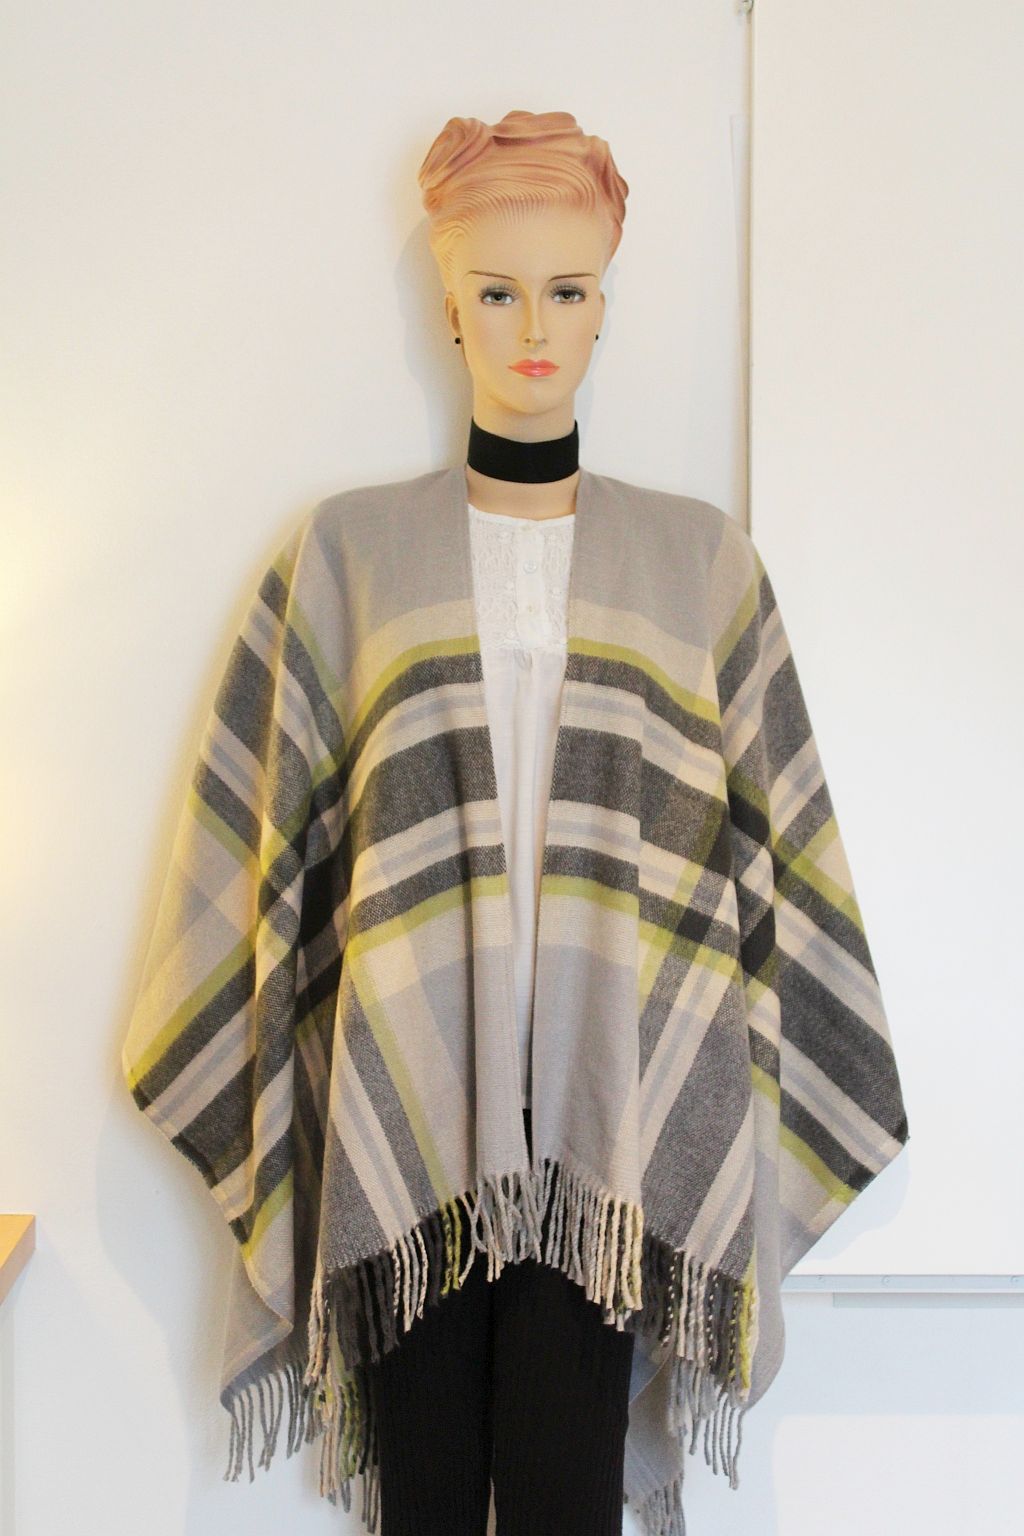
Blanket Poncho Tutorial
I don’t think its gets any easier to make an on trend garment than this blanket poncho. Hope you love this blanket poncho tutorial. I will admit this was a new blanket. My mother bought it for me. The point of my blog is usually to upcycle or recycle.
You can go one better than me and recycle an old blanket into a blanket poncho, up-cycle a sofa throw or even old curtains provided they aren’t too stiff. My blanket came a standard 130 centimetres x 150 centimtres. You could easily go as big as 150 centimtres x 200 centimetres.
To finish your blanket poncho you can add fringing along the back and front bottom edges. And then sew a hem around the arms and neck openings. Or make your own bias tape from left over fabric? I found a tutorial for continuous bias tape. Wow, life changing! Who knew bias tape is so easy to make? You could sew bias tape all around your poncho. The options for this are endless. How about a tweed poncho with faux suede tape? Or a light cotton throw trimmed with bright fringing for a summer beach poncho?
The choker necklace was made from left over strapping which I had lying around. Will feature than next week but here are a few older posts for choker necklaces –
- Cord Necklace
- Ribbon Choker Necklace
- Electric Cable Choker
You need: –
- between 130 to 150 x 150 to 200 centimetres of fabric
- matching colour thread
- bias tape and fringing (optional)
- sewing scissors
- pins
- sewing machine
You do: –
Fold your poncho in half and in half. Measure it out and mark with tailors chalk, old soap or even pin it as I did.
You want to cut the centre front to the fold line. Then cut a teeny, tiny bit longer so there is space for your neck to fit in the very middle. Skip this step and your poncho will hang too long in front.
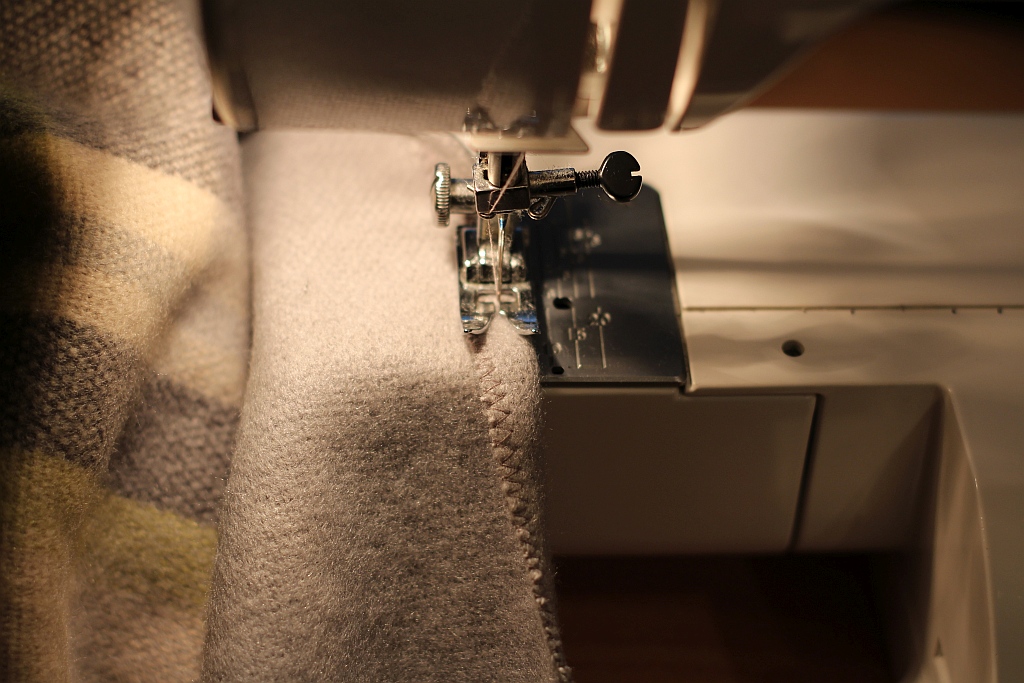
Over-lock or zig-zag any edges of your fabric that might fray.
Then fold back and make a hem around the front and neck section. And any other sections that need edging. You can sew bias tape around the edges in lieu of a hem. Also add fringing at this point
Press this seam with an iron and press your poncho flat. If you want to sew the sides together now is the time. I didn’t do that but it does make the poncho fit better. It can slide off.
And just like that you have a brand new poncho.
See you right here next week.
Greenie.


The instructions I have for making bias tape aren’t what I’d call easy. The first time I tried I had to have a second set of eyes reading and interpreting along with me. But after a little practice it got easier and it’s saved me untold amounts of money, besides adding a finished and professional look to my projects. Well worth the effort!
Thanks your comment Mandy.
Well worth learning how to make it. Also saved me heaps of cash. And I can make it wider which I find easier to worth with.
All the best,
Greenie.
Do you fold it in half twice?
Basically yes. The poncho is made up of four quadrants.
Left Back + Right Back + Left Front + Right Front = Whole Poncho.
All the best,
Greenie.
I’m making a poncho out of wool, do I need to line it first?
Hi Carol
I didn’t line mine and it was fine.
All the best,
Greenie.