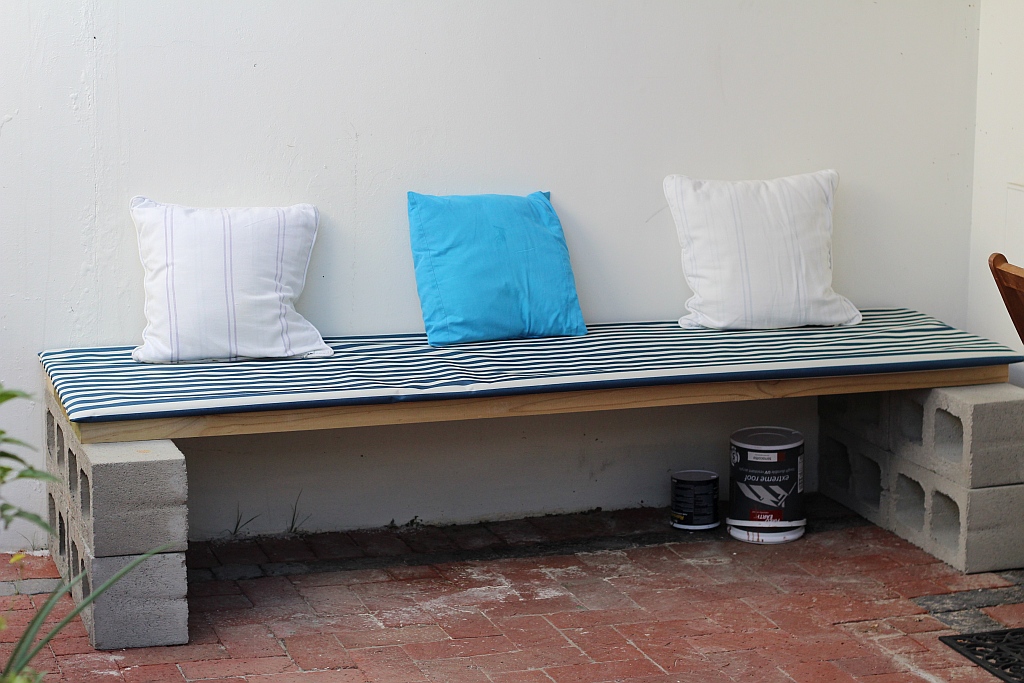
DIY Outdoor Seating
There have been a good few variations of this DIY outdoor seating idea on Pinterest. The configuration of the concrete blocks for example, or a thicker mattress, or more cushions, different coloured fabrics and painted concrete blocks. All were good. Probably a lot better that what I rustled up here.
And I mean rustled up. We were having a housewarming party and I needed extra seating. Fast. This worked perfectly for our small front area using up wall area and leaving space to move in the middle. A table and chairs in here would not have worked. Here’s how I created this DIY outdoor seating.
You need: –
- concrete bricks
- paint and brush if you want to paint the concrete bricks
- planks
- foam to fit the bench
- fabric or plastic cover
- matching colour thread
- sewing machine
You do: –
First purchase are your bricks. We had ours delivered as they were too heavy to pop into the boot of our car. Once you have your bricks, lay them out at the desired width for your bench. This helps you get a sense of how big or small you want your bench to be. Or how much space you have to spare.
You can play around with the configuration of the concrete blocks. We chose flat as we felt this was was more sturdy.
Now measure for your planks. These need to be strong enough to support people so thicker is better. We went for 5 centimetre thick x 15 centimetre wide x our length planks. And four of those per seat.
Next we measured the seat and had a high density cushion made to fit the seat. I went for a thin cushion.
And the step after that was to make covers for the cushions. I managed to find a plastic covered fabric which was perfect for the cushions but quite heavy to work with. I lay the cushions on the plastic covered fabric on the floor.
The covers needed to wrap around the cushions. See photo above. The plastic was slippery so I used tape to hold them in place. The cushions had to be taken out before I sewed across each end of the covers.
Luckily my other half was around to hold the covers so they were easier to sew.
Once the ends were sewn it was a case of snipping the corners and turning the covers inside out. And putting them on the cushions.
One final thing we did was paint the concrete blocks to fit in with the brick paving.
And that was it!
More next week but until then – have a great green week.
Greenie.


