
Poncho + FREE Sewing Pattern
Poncho
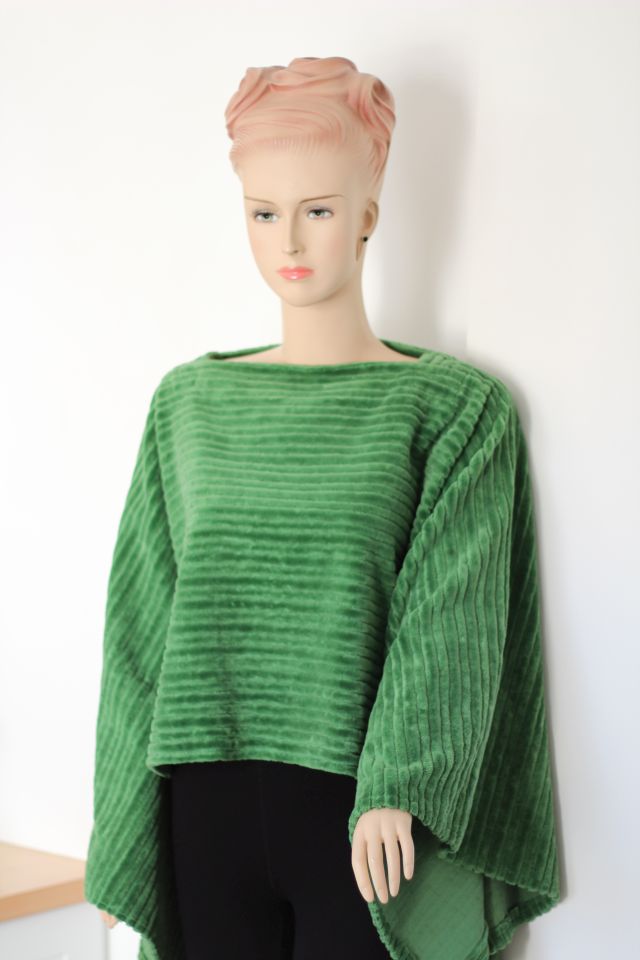
It’s winter at the bottom of the world. And Cape Town is known as the Cape of Storms for a very good reason. The weather gets hectic – howling gales and driving rain. It’s a wet cold. Yet few homes have central heating or double glazing. We live in Africa, duh. So when a person is already wearing a vest, one or more long sleeve tees, a sweater, plus maybe even a hoodie it starts to get difficult to still squeeze into a jacket. Enter the poncho. Good thing ponchos are this season’s must have item.
Sneaky me, I try them on and look to see how they’re made. How long and how wide. And go home and make my own version. A green ribbed velvet poncho? Yes please.
You need: –
- fabric
- matching colour thread
- sewing machine
- sewing scissors
- pins
You do: –
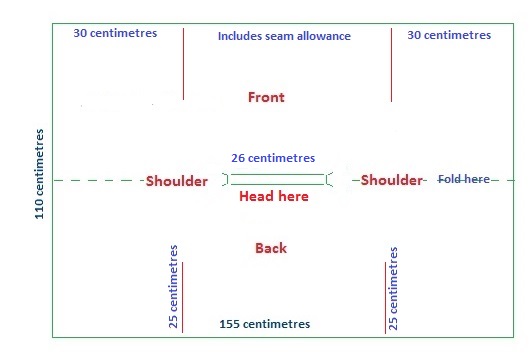
FREE poncho pattern
Cut your poncho as per the FREE sewing pattern.

Hem edge of poncho
Hem around the edge of your poncho. If your fabric looks like it will fray the zig-zag or over-lock around the edge first.

Measure and mark hole for head
Now measure and mark the opening for your head as per the pattern. I used tape measure and a small piece of dried soap. White chalk will also do as it washes out.
Snip and sew neck area
Cut neck opening. Again zig-zag or over-lock any raw edges and sew neck area flat.
Also sew up the side areas leaving space for your arms to fit through.

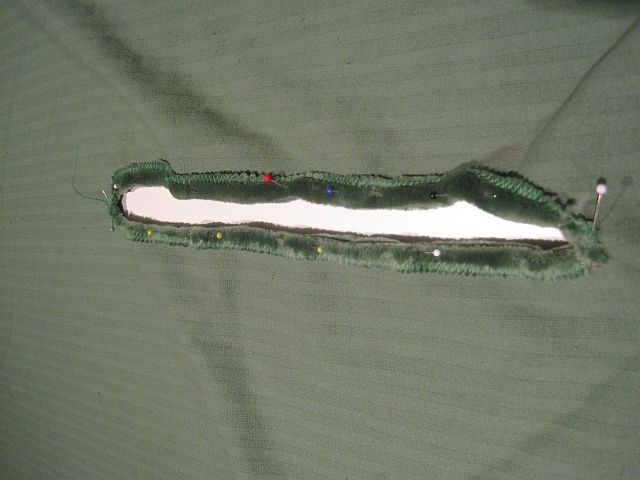
Repairing the poncho neck
I stupidly went and cut my neck a bit longer and wider thinking my poncho would never fit over my head. Mistake. But I added two pieces on each side to rectify it as per the photos.
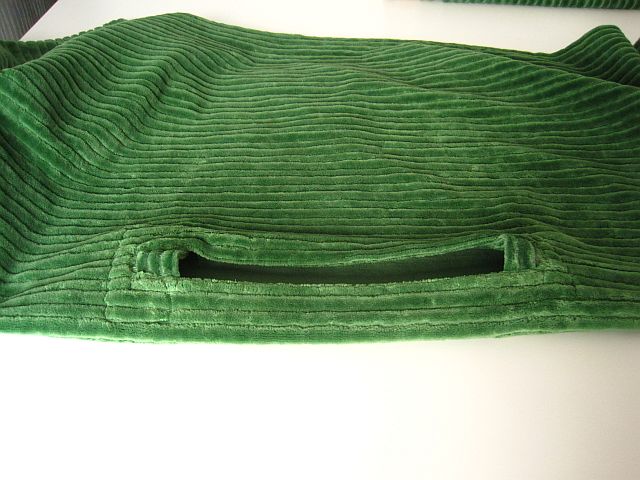
Poncho neck
It looks fine with the “repair” job as you can see. Actually it re-enforces that area as my fabric is really heavy.
Don’t forget to have a look at the Galleries at the top of the page. I have 100’s of DIYs and more FREE sewing patterns.
Have a great green week.
Greenie.