
This pouch was made to store the rain poncho I made last week. See that tutorial and FREE sewing pattern for the rain poncho – on this link.
 |
| Leopard print nylon pouch |
And here are two more tutorials for pouches or cloth toiletry bags – drawstring toiletry bag – and – zipper toiletry bag.
I used the leftover pieces from my rain poncho. Had to sew them together to get a big enough piece. You need a piece of fabric (nylon in this case) about 25 centimetres wide by about 60 centimetres long. And a piece of cord about 55 centimetres long or longer.
I made the dimensions up to fit the rain poncho after I folded it up. And you need to make sure the cord is long enough to run through the top of the pouch plus enough cord over to tie a knot.
Here’s how you make this easy pouch –
 |
| Rain poncho at left. Sewing fabric together for pouch on right. Plus cord |
Cut your fabric. Fold in half – right sides facing.
 |
| Fold in half and sew sides leaving 6 cms open from top |
Sew sides leaving 6 centimetres open at the top. Snip corners at bottom so pouch opens nicely.
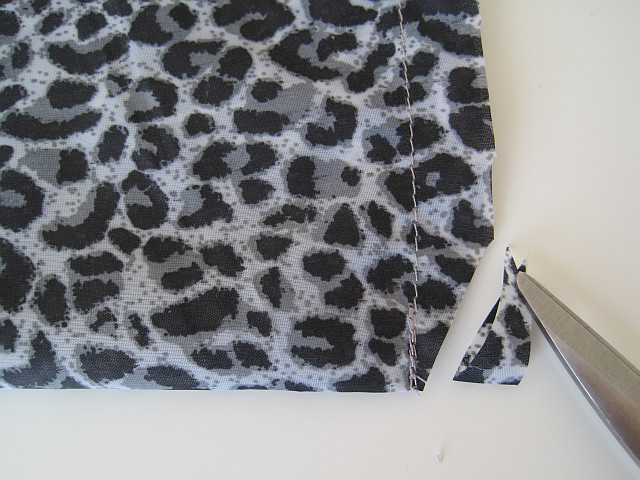 |
| Snip corners |
Pin and sew sides to neaten.
 |
| Pin sides |
 |
| Sew sides |
Fold over top to create casing for cord. Sew casing.
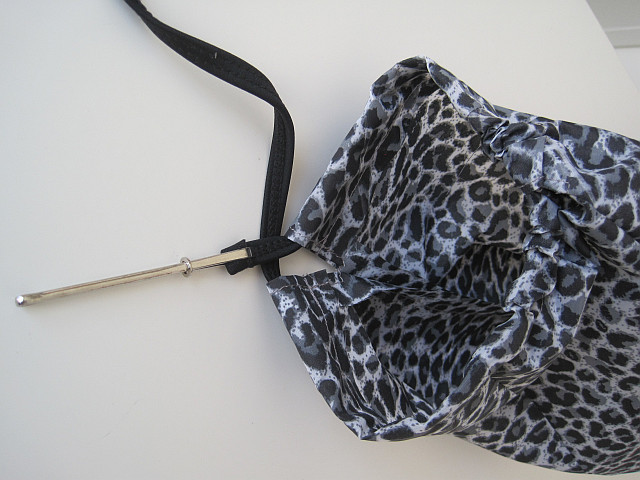 |
| Fold over top and sew. Feed cord through. |
Feed cord through casing. Knot cord.
Voila.
If you scroll back to the beginning of this blog you will find three galleries with 100’s of other tutorials, FREE sewing patterns and ideas to make your own clothes and accessories.
Will be back next week with more inspiration to help you DIY and not buy.
Greenie.